

How To Type Along A Circle In Photoshop
Whether you want to write curved text, create an emblem, or make text for a logo, learning how to type text in a circular shape has a long list of uses in Photoshop. Although it'south non immediately obvious, it's relatively like shooting fish in a barrel to do whether yous're writing on a circular path or a shape.
To type text in a circle in Photoshop, select the Ellipse Tool and so click and drag out on your sail to create a circle. Side by side, press T for the Type Tool and click on the path of the ellipse to lock the text to the shape. Now your text will follow the shape of the circle.
Although writing on a path or shape is pretty straightforward, there are pros and cons to each that you will learn throughout this tutorial. Later on, I'll also explain how you tin can utilize this new skill to create a custom keepsake with circle text for logos, banners, or whatever else yous run across fit!
Let's get started.
How To Type Text In A Circle In Photoshop
There are ii methods for typing text in a circle, the first with a shape layer, and the 2d with a path. In a nutshell, a shape layer volition exit a colored circle on your canvas, while a path will exist completely invisible. The i you choose will depend on the blazon of result you want for the text.
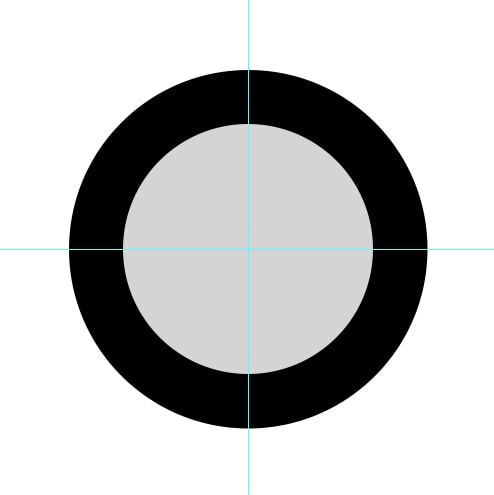
Before getting into these ii methods, create a new document, preferably the same height and width. I set my certificate to g×k pixels. This isn't totally necessary but helps to keep things proportional.

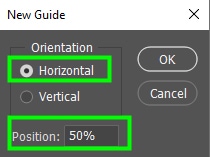
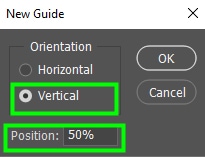
Next, you lot'll add ii guides to the canvas to assist y'all see the heart of it ameliorate. To practice this, get up to View > New Guide.

In the flyout carte, enter 50% and check 'Vertical.' And then, click 'OK' to confirm the changes.

The first guide will be placed in the middle of the sheet.

Later on that, go to the View card once more and click 'New guide.' Then, type fifty% again and check 'horizontal' instead. Click 'Ok' again to confirm the changes.
The second guide will exist added.
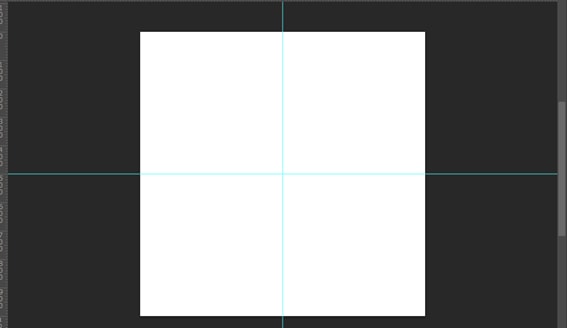
Notice that the two guides meet each other at a point (the center of that sheet). That point will coincide with the circle origin. That will go far easier for you to align your text and other elements effectually the center of the circle afterward without relying also much on the motility tool.
Now let's create an ellipse to base the text on.
Method one: Drawing A Circumvolve Shape
This method allows you to encounter the ellipse in which your text is typed, even if the shape is not selected. This method can come up in handy when aligning circular text with other objects or when you desire to brand an emblem. Luckily when you finish your project, you can withal decide whether to keep the shape or delete information technology.
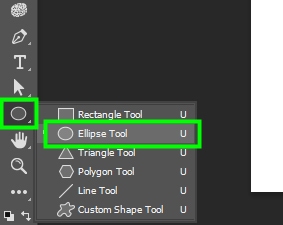
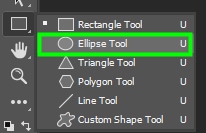
To begin, go to the toolbar and grab the ellipse tool found within the shape tools.
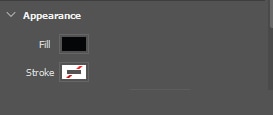
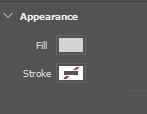
Now go to the upper settings bar, set up the fill up to transparent (represented by the white box with a red strikethrough), and the stroke to black. This will give you an outlined circle with a transparent center.
I would advise choosing a stroke value between 2 and four for at present just yous can modify these values later if you lot like. For my circumvolve, I set the stroke thickness to iii pixels.
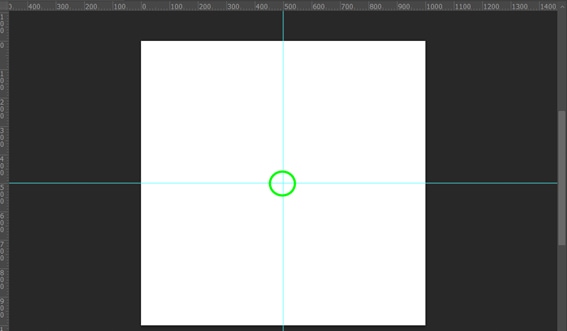
With your settings in lodge, place the cursor where the 2 guides see.

Then elevate with the mouse while holding 'shift' to depict a perfect circle. When you feel the size is ok, you can permit go of the mouse.

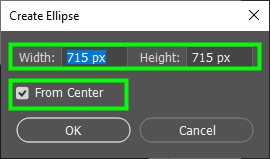
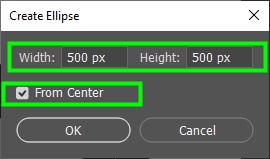
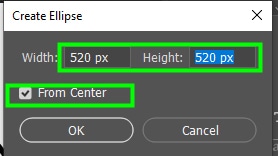
Alternatively, double click in the middle of the canvas and enter values for the circle'due south height and width in the panel that will popular up.
Be sure to enter the same value for both dimensions and check the 'From center' checkbox. Click OK when you're washed.

Since my canvas is thou x 100 pixels, I fix 400 pixels to both height and width. This way, I will take plenty of room for adding text and other elements to my circumvolve later. With this starting bespeak, you volition have a visible outline that your text will follow along.

Method 2: Cartoon A Circumvolve Path
This method is user-friendly when you just need the circular text and nothing else around it. This method gives the appearance of text that's curved by itself, without following a visible shape layer.
Similar to before, offset past grabbing the ellipse tool in your toolbar.
Then, go to the upper settings menu and alter the kind to Path.

Now, place the cursor where the ii guides meet, then drag with the mouse while property 'shift' to draw a perfect circle. This time you will create the shape of a circle, without any colors.
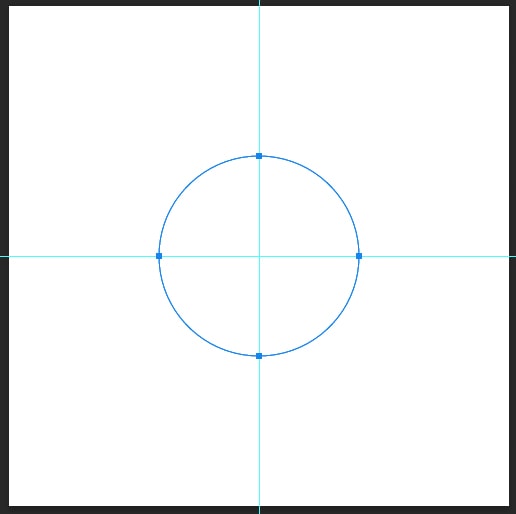
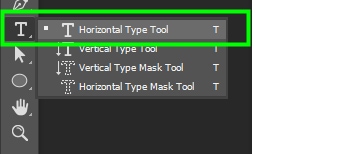
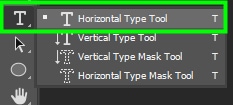
With the ellipse drawn, information technology's time to type along the circular path. To do that, get to the toolbar and choose Horizontal Type Tool (T).
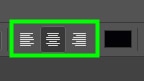
And then, go to the Options bar and click on the Middle text alignment pick.

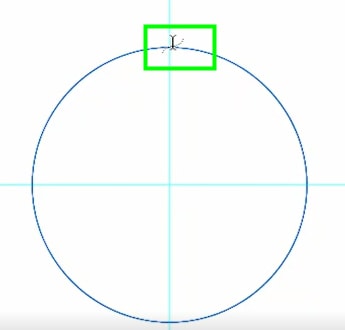
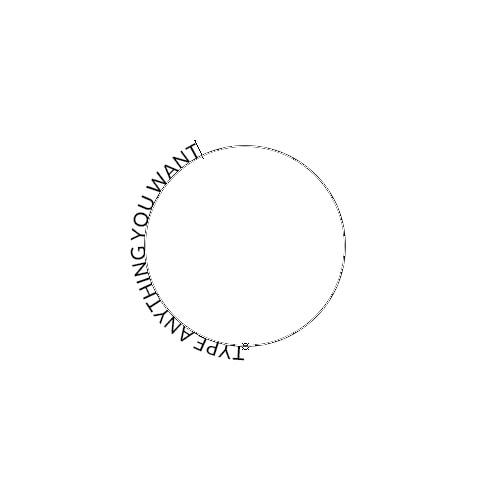
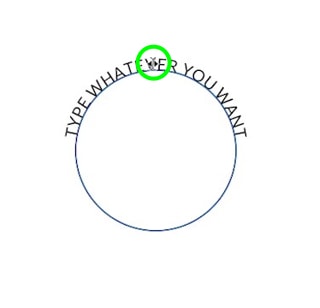
Next, hover over the circle. When you see a dotted, wavy line crossing the cursor, you tin can commencement typing. This indicates that your text volition follow the shape of the path. Whether yous created an ellipse path or a shape layer, this procedure is exactly the aforementioned.
Now type freely along the circumvolve path and watch how the text takes shape.
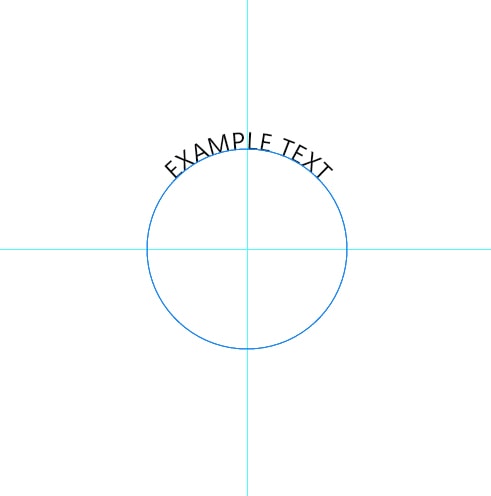
Once everything is aligned, you tin can remove the guides to have a better view of the text in the circle. To remove the guides, press Command+ ; (Windows) or Control + ; (Mac).
How To Edit Text On A Round Path
After y'all have typed in a circle, you might want to change some of its attributes, such as its spacing, colors, tracking, and then on. You can edit most of your text's attributes in the Graphic symbol panel which can be accessed past going to Window > Character.

You can also use the upper settings bar while the Type Tool is active to change your text'south settings, simply the possibilities in that location are more than limited. So allow'south explore some of the options available in the Graphic symbol panel instead. Just brand sure the text layer is selected to ensure that the adjustments will be practical.

one. Font Type And Font Size
For my text, I chose a sans serif font, because it's easily readable. Y'all tin alter the font type in its drop-downward menu.

two. Baseline
By default, the baseline value is set to goose egg, which means the text will sit down direct on the path. When you lot increase the baseline value, there volition be more space between the circle and the text.
three. Color
If you demand to change the color of your text, go to the colour swatch, on the right side of the console.

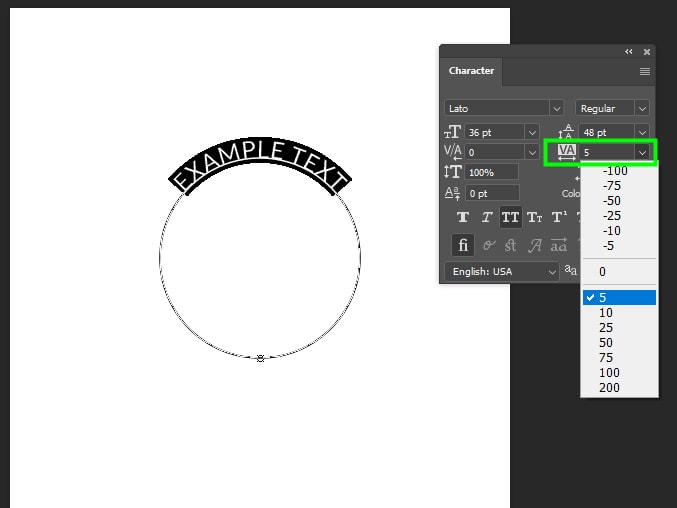
4. Tracking
Tracking is simply the space among all letters of a text. I set the tracking of my text to 5 so the letters won't look so close together. You can choose a value for the tracking in its drop-downward menu. To adjust the spacing of individual characters, opt to adjust the Kerning value instead.
How to Align And Position Circular Text
Afterwards creating your round text, aligning information technology is the adjacent important step. There are a few different ways to do this, simply I volition show you lot one of my favorite easy methods.
Aligning Circular Text
Earlier irresolute the alignment of a circular text, you lot need to select information technology by highlighting the text.

So, get up to the Options bar and click one of the text alignment options available.
Positioning Circular Text
Rather than aligning to the right, center, or left, this method will give you a lot more control over how your text is positioned on the path.
Showtime, make sure the text layer is selected. If not, click on information technology to select it.

Next, make certain your text is aligned to centered in the upper setting bar, mentioned in the previous department. We're going to centralize the text to change its position later on.
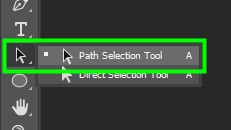
Now grab the path choice tool in the toolbar (A).
Then hover over the text until y'all run across an icon that looks like two arrows pointing in different directions.
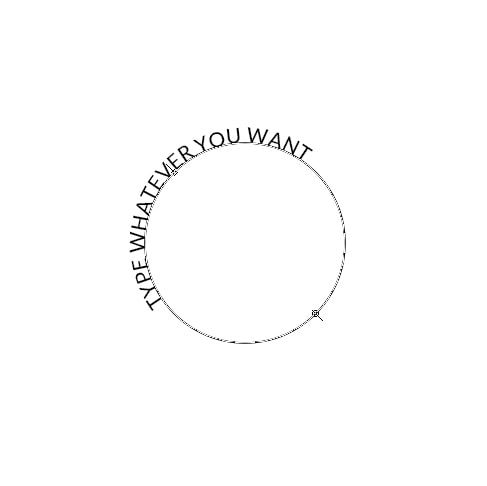
Click the icon and elevate it anywhere you lot desire to adjust the position of your text. I dragged my text slightly to the left in this example for the sake of instance.
How To Blazon On The Lesser Of The Circle
In some cases, you may desire to type on the lesser of a circle, especially when you're designing a logo or a stamp. And then I will testify yous how to type on the lesser of a circle in a few uncomplicated steps.
First, make a copy of your text, by clicking the text layer and then pressing Control + J (Windows) or Command + J (Mac).

Then, click the little center icon adjacent to the original text layer to hide it for now.

Select the layer copy.

At present, go to the toolbar and grab the path selection tool (A).
So, identify your cursor in the middle of the text. Subsequently that, hover over the circle until yous see that the cursor changes to what seems to be an icon with two arrows pointing in different directions.

Then click and elevate the text within the circumvolve to alter which side of the path it'southward on.

Now hover over the text inside the circumvolve until you see that double-pointer-icon again. With this icon visible, click and drag your text to reposition it at the bottom of the circles path.

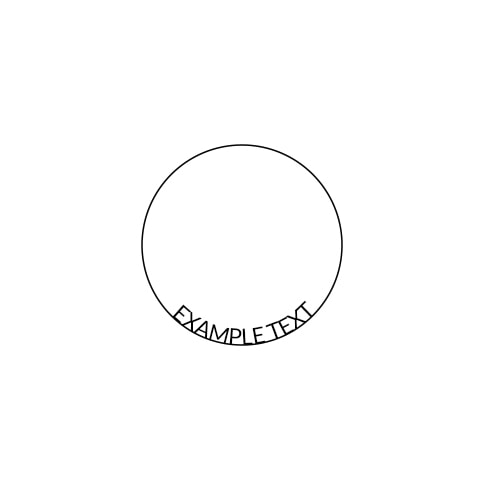
Now, permit's make the original layer visible again by clicking on the eyeball icon to reveal information technology.


Equally y'all can see, the top text is outside the circle, while the lesser text is inside of the path. As I'd rather have both texts exterior the circumvolve and aligned together, I will make a quick adjustment.
First, I'll select the text layer that I want to reposition; in this instance, the Text Copy layer.
Then I'll press 'T' to enable the text tool and double-click the lesser text to highlight it.
So, open the Character panel or get to Window > Graphic symbol if y'all don't see it.
In the graphic symbol panel, find the baseline setting. Then, hover over the baseline bill of fare icon until you see that your cursor turns into a hand icon with two arrows pointing in different directions. With this icon visible, click and drag the slider to the left until the text goes exterior the circle.
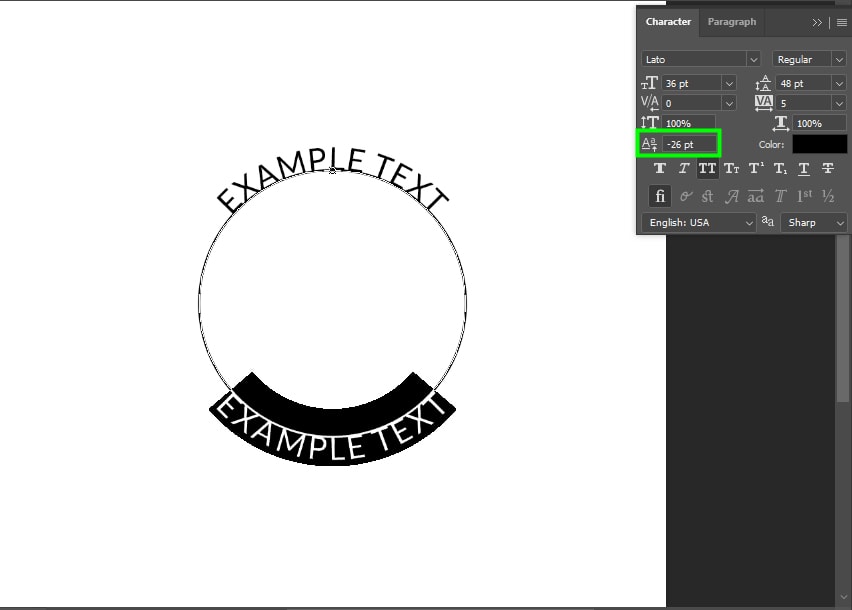
For my text, -26 worked well. Now looking at the terminal result, I am left with ii pieces of circular text, without a visible circumvolve since I was working with a path rather than a shape.

How To Create A Circle Logo In Photoshop
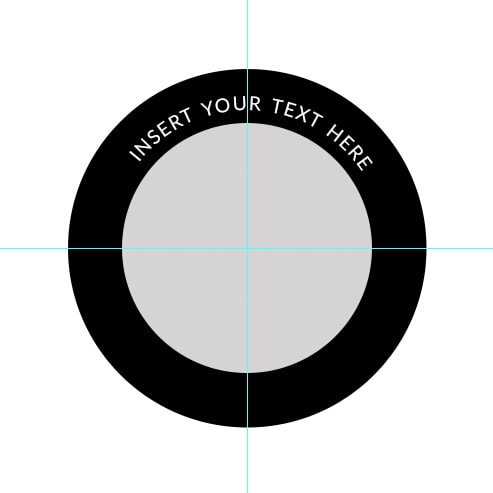
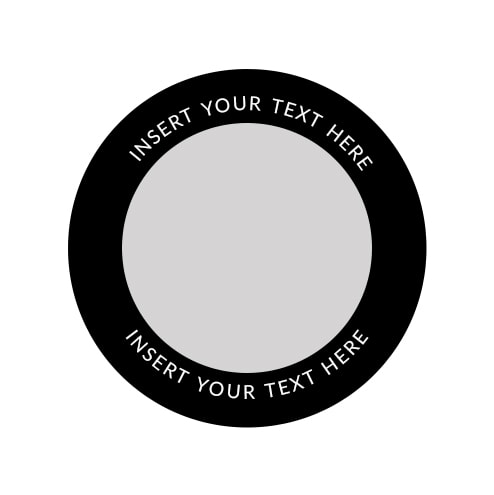
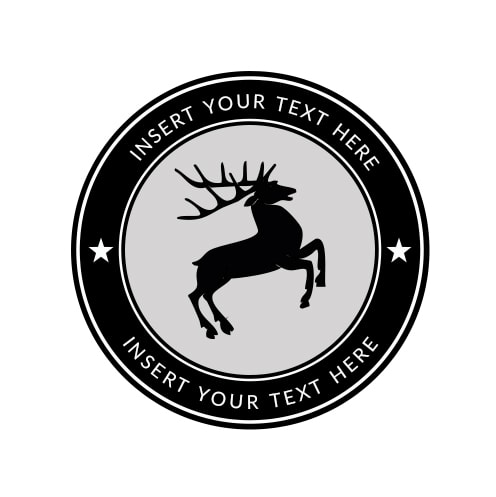
In the previous sections, you learned how to type, position, and edit circular text. Now let'due south go through how to employ these techniques to create a bones logo template. This is the logo template yous will create:

Footstep i – Setting Up Your Canvas
Open up a 1000×m pixel document, or whatsoever other square document of your choosing.

With the document created, permit'due south add a horizontal and a vertical guide to the canvas.
To do this, go to View > New Guide.

Side by side, check 'horizontal' for the guide orientation and 50% for the position. Then, do this again just cheque 'vertical' for the orientation and 50% for the position, instead. This will place two guides to help locate the center of your canvas.
Step 2 – Drawing The Ellipse Shape
Now information technology'due south fourth dimension to draw the ellipses we need. First, become to the toolbar and grab the ellipse tool.
So, double-click the point where the two guides meet and enter 715 pixels for both width and height. Check the 'From Eye' checkbox and click 'OK'.
In the properties panel, set the stroke to transparent and the fill to black. Alternatively, you tin can find these settings in the upper settings bar while the Shape Tool is active.
Next, let's draw the second ellipse. To practise this, create a new layer in the layers panel. Then, go to the toolbar again and take hold of the ellipse tool. Double click the center of the canvas again and enter 500 pixels for both width and meridian.
Then, get to the backdrop panel and change the make full to grey (#d5d4d4). The stroke should be transparent. represented by the white box with the red line through it.
Notice how both circles are aligned to the centre and you didn't even have to apply the Motility Tool!
Step 3 – Typing And Editing Text
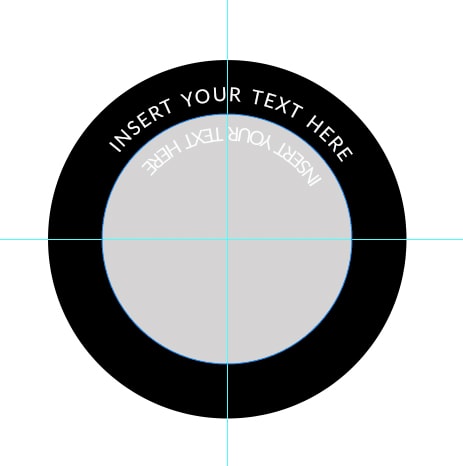
Now allow'southward blazon some text forth the ellipses we created. To do this, create a new layer for information technology in the layers panel. Then, get to the toolbar and take hold of the 'Horizontal Type Tool.' (T)
Then, become to the upper settings bill of fare and click on the 'Center text' icon.
Now position the cursor on top of the grey circumvolve. When you meet a dotted, wavy line crossing the cursor, click once to create a blazon layer along the shape'south path.

With your text added, open the grapheme panel by going up to Window > Character.
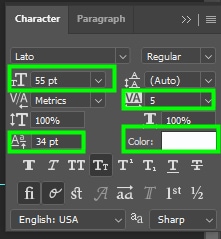
In the character panel, set up the baseline to 34, the font size to 55, and the tracking to 5. Thus, there will be enough space betwixt the text and the baseline. Additionally, the characters won't be as well close together. Finally, change the text color to white (#ffffff).
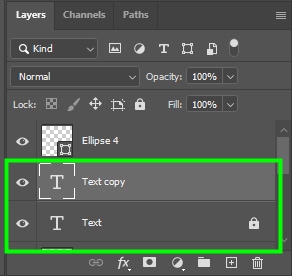
Now, indistinguishable the text layer by pressing Control + J (Windows) or Command + J (Mac).
Adjacent, take hold of the path selection tool (A), then position your cursor in the middle of the text until you see a double-arrow icon.

So, drag the text downwards towards the grayness circle.
Now, hover over the upside-down text until yous see the double arrow icon again. So, drag the text to the bottom of the circumvolve.
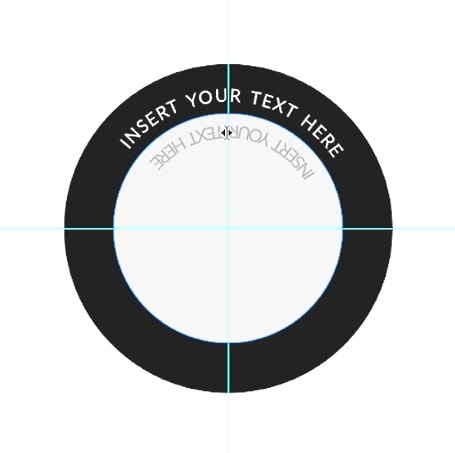
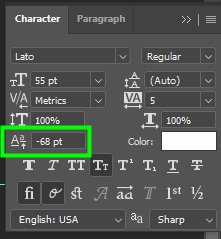
Lastly, go to the Graphic symbol console and set the baseline to -68.
Step 4 – Finalizing Your Template
Let's add together two more than circles to the template. They will look like rings inside the circle. To do this, grab the ellipse tool once once more.
Then, double-click the heart of the canvas, and in the dialog box that volition pop up, enter 520 pixels for both width and height.
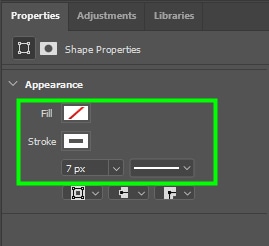
In the properties console, fix the fill to transparent and the stroke to white. The stroke width should be 7 pixels.
Then, take hold of the ellipse tool and double-click the center of the sheet again. This time, enter 688 pixels for both width and height.

As with the previous ellipse, set the fill to transparent and the stroke to white in the properties panel. The stroke width should also exist set to seven pixels.
The template is at present created.
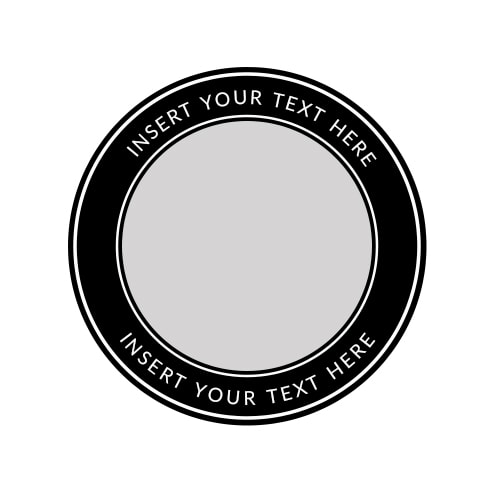
With additional text and shape layers, you lot tin put your name or your brand proper noun on the heart of the logo.
You can also change its color combination by irresolute the color of any shape layer in the Layers Panel.

Or you can get really fancy with a vector shape in the middle of it all!
Learning how to type text in a circle has a lot of valuable uses, especially for logo and emblem design in Photoshop. With the tips you learned here, yous tin can now confidently write text in a circular shape, forth with repositioning it to fit the look you're going for!
Happy Editing!
Source: https://www.bwillcreative.com/how-to-type-text-in-a-circle-in-photoshop/
Posted by: dasilvashosioness.blogspot.com
0 Response to "How To Type Along A Circle In Photoshop"
Post a Comment