

How To Save As A Vector In Photoshop
Adobe Photoshop is not a vector epitome editor. Adobe Illustrator ably handles that job. Only what if you lot are on one of the bones Adobe Artistic Deject membership plans? Or yous just have a subscription to Photoshop solitary?
Photoshop has a few tools that allow y'all to depict vector shapes and paths from scratch. You lot tin can now even select multiple paths and change the appearance with features like Live Shape Properties. Nevertheless, learning to vectorize an image in Photoshop takes a bit more than effort.
How to Convert a Raster Paradigm to a Vector Image
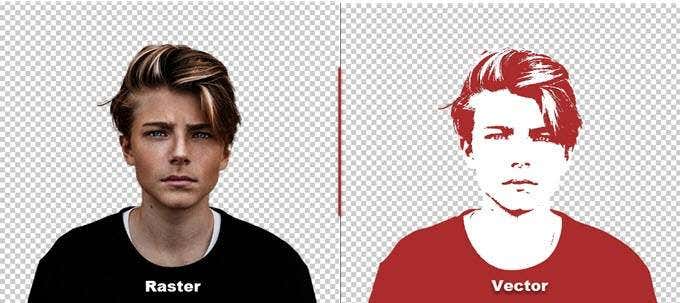
Vector images tin be scaled to any size unlike a photo that will pixelate if at that place's a change in resolution. They are made of paths which are like "lines" fatigued with mathematical equations that are scalable to whatever resolution.
To convert a pixel-based raster image to a vector epitome:
- Select the pixels.
- Convert them to paths.
- Colorize them and relieve as a vector image.
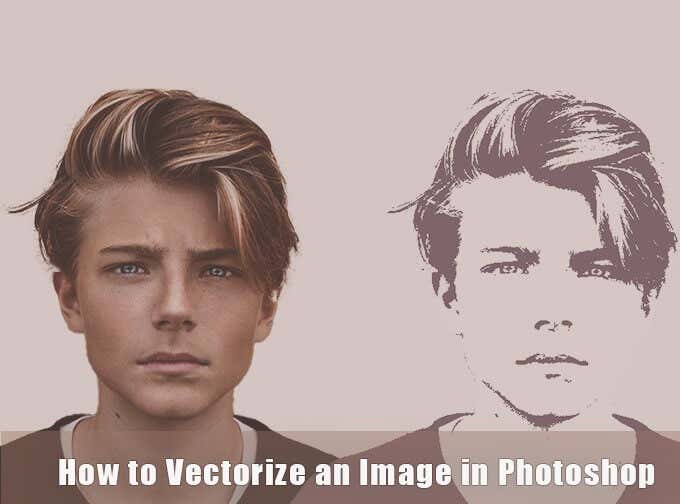
As e'er, you volition be working with dissimilar layers in Photoshop to extract the paths from a raster image. Here's a glimpse of the initial raster portrait and the concluding prototype later on it has been vectorized.
The screenshots are from Adobe Photoshop CC (21.two.0). But you should exist able to follow this uncomplicated tutorial with about of the recent versions of Photoshop.
i. Open the Raster Image in Photoshop
Drag and driblet the raster paradigm into Photoshop or open it from File > Open up. The sample prototype in this example is a elementary portrait. If the object you lot desire to vectorize has a busy background, then remove the background in Photoshop first.
2. Make a Selection Effectually the Prototype
There are dissimilar methods you can use to brand a selection in Photoshop. The method you choose volition depend on the nature of the image. For instance, if the image has directly edges, you lot tin can select the Rectangular Marquee tool. If you want to choose by color, then Magic Wand or the Quick Selection tool is an option.
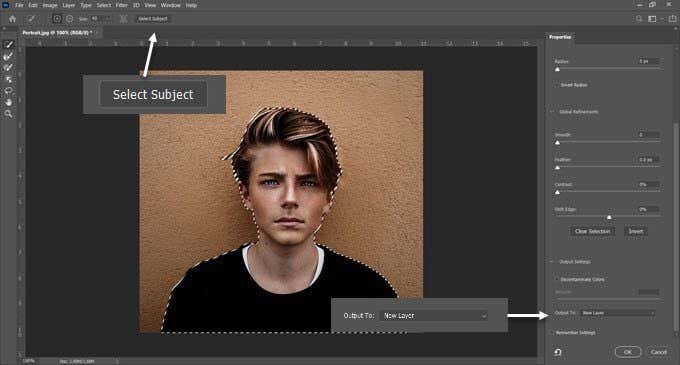
For portraits, the Select Subject field control tin can select the master subject in a photo automatically. It's a content-aware tool that uses smart algorithms to observe people in images. The Select Subject button is displayed on the toolbar when you pick a selection tool. You can too find it nether the Select menu.
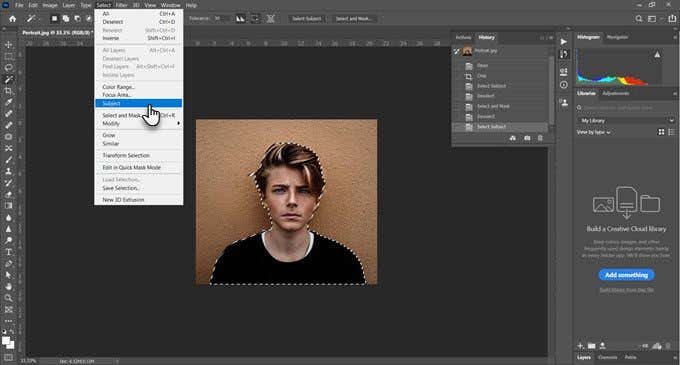
Get to Select > Select & Mask > Select Subject area and information technology will smartly select the near prominent subject in a photograph.
Use the Global Refinements sliders to fine-tune the selection edges if necessary, and then output the selection to a new layer.
For more than complex objects in your photo, the Object Option tool is a powerful feature in Photoshop. It works just like the Select Subject area but helps yous fine-tune the selection with more controls. Use this if you lot have a group of objects (or people) in your photo.
three. Create a Threshold Effect
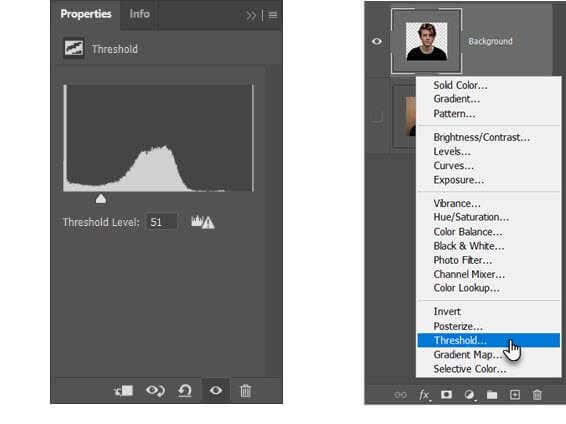
The Threshold Adjustment layer transforms the electric current layer into a black and white epitome, and you can requite a color paradigm a neat one-color look later in the process.
In the Layers panel, add a new Threshold layer by selecting the Create new fill or adjustment layer icon. Conform the slider till you get your desired wait. In the case paradigm, we have used a value of 51.
4. Utilize the Colour Range Command to Select Tonal Areas
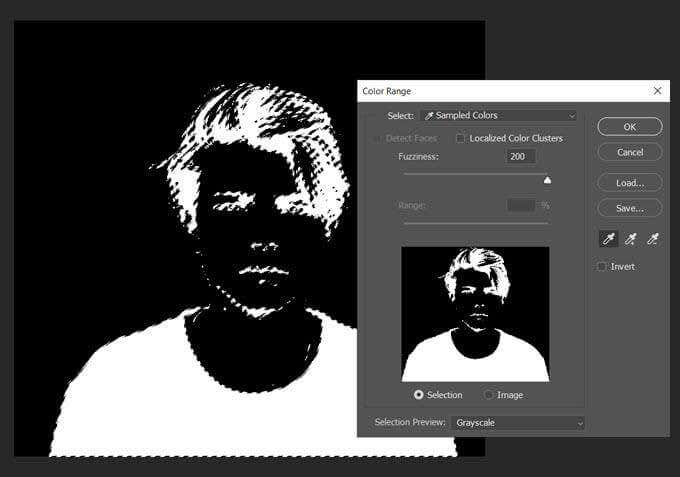
The Colour Range control under the Select menu is like the Magic Wand selection. Merely it's also better as it can select pixels that share the same or similar color with the eyedropper tool on that surface area of the epitome. You can pick up a range of colors by using the tool repeatedly on different areas of an image.
In this Photoshop tutorial, nosotros want to utilize the Colour Range command to select all the white and blackness tonal areas.
Become to Select > Colour Range.
Use the Eyedropper tools to select all the different tonal areas in the paradigm. Choosing the Grayscale preview in the dropdown will give y'all an idea of the areas selected.
Click OK to close the dialog and come up back to the threshold layer with the portrait selected.
5. Catechumen Your Selection Into a Path
A path in Photoshop is goose egg but a line with anchor points at its two ends. In other words, they are vector line drawings. Paths can be straight or curved. Like all vectors, you tin stretch and shape them without losing detail. Photoshop can convert selections into paths and vice-versa.
Select the Marquee tool or any selection tool. Right-click on the epitome, and cull Make Work Path from the context menu.

Besides, set a Tolerance Value in the little box that's displayed.
half dozen. Set a Tolerance Value for the Path
To brand the path smoother, gear up a Tolerance value in the dialog box that pops up. A value of "i.0" should be ideal for the irregular paths effectually a portrait.
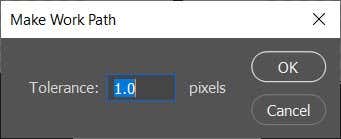
The Tolerance value determines how closely the path should "stick" to the contours of the image. The lower the value, the more closely the pick follows your path. Higher values volition subtract the number of anchor points and make the path smoother. The thumb rule is — the simpler the object, the higher the tolerance.
But experiment with this value co-ordinate to the complexity of your image.
vii. Create a New Solid Color Layer
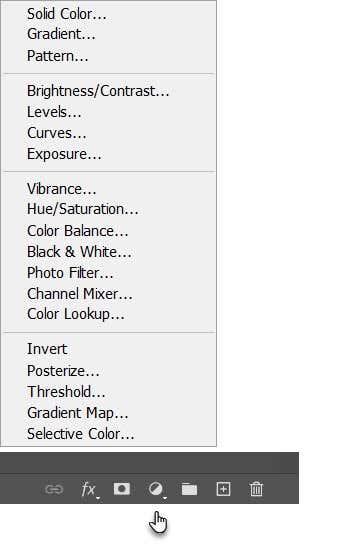
Without clicking anywhere, go to the Layers panel and select Create new fill or adjustment Layer.
And so, choose Solid Color from the card. You tin pick any color.
This step creates the vector shape layer on top of the Threshold layer.
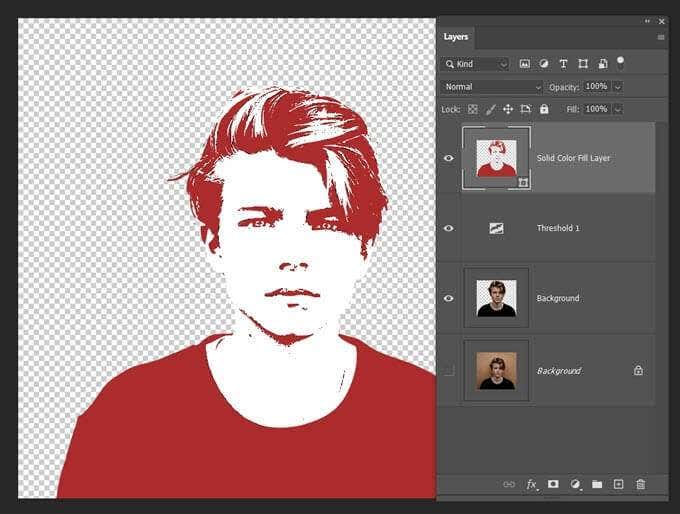
This solid color fill layer tin be customized to any colour of your choice. In the next step, export this layer as a SVG prototype.
8. Save the Vector Epitome as an SVG File
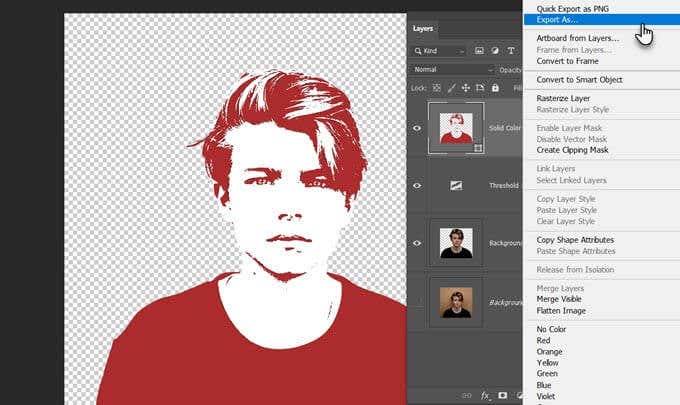
Right click on the layer and choose Export Equally. You tin besides salvage the vector image from File > Export As.
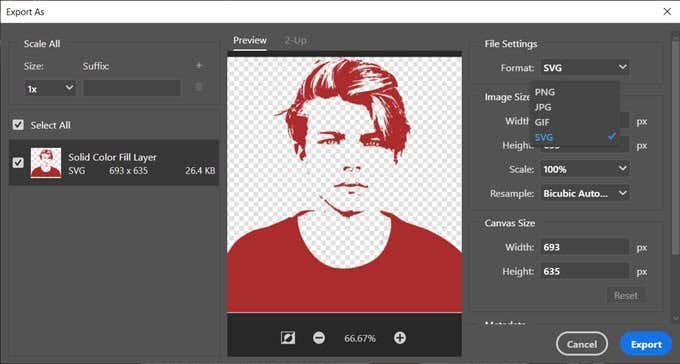
In the Export Every bit dialog, choose SVG from File Settings and click on Export.
Y'all can now open the vector file in Adobe Illustrator or whatsoever other vector image editor.
Alternatively, you lot can consign vector paths from Photoshop into Illustrator too. Click File > Export > Paths to Illustrator. This exports the Solid Color Fill Path to Illustrator if you have it installed.
There Are More than Ways to Vectorize an Paradigm in Photoshop
This specific method is a elementary manner to get a monotone vector prototype from a colour photo. You tin can use it as a template for any other image modification in Photoshop. And then calibration it up or downward to whatever size on paper or some other medium.
There are other ways to vectorize an epitome in Photoshop. The one you follow will depend on the base of operations photo and the results you want.
Do not share my Personal Information.
Source: https://helpdeskgeek.com/how-to/how-to-vectorize-an-image-in-photoshop/
Posted by: dasilvashosioness.blogspot.com
0 Response to "How To Save As A Vector In Photoshop"
Post a Comment